Friday, 18 November 2016

Dining Room DIY Makeover

So we have been in our home just over a year now, and looking back I've realised that we've actually accomplished a lot over that time! And when I say we, I really mean my husband with me giving "directions". Some things have been easy to change and only needed new paint, others have been a major renovation project, which I will share later. 

I don't have any particular style in mind with our home, I just know what I like and don't like. If you go to my Home and Interiors Pinterest board you will see it's a bit of a mishmash of different colours and styles, but heavily featuring grey tones and crisp white.  Our home was built in 1983 and features a lot of wood, cream and peach. Some people are into that country wooden look but it's not for me. When I look at it I just see tired and dated. (Although at the same time it reminds me of my childhood home so also oddly familiar and comforting). The other strong feature of our home are the large wooden beams that are in the kitchen, dining room, lounge and master bedroom. 


These photos are from the real estate marketing with the previous owners furniture. It gives you a good idea of the type of style they had and how everything pretty much went with their furniture!

For the dining room I wanted to go for something really different. The dining room sits between the kitchen and lounge as a seperate space, rather than part of another room. I really wanted to make it stand out and. It's hard to describe in my mind what I was thinking of, but it turned out a lot better than I imagined! When we had the test pots of colour on the wall, there were some raised eyebrows! But since it's been painted we've only had positive comments. My only opinion with colour is that it's just paint- if you don't like it then paint over it! 
You have to excuse the mess! This is after we moved in with some test colour on the wall. A pretty dramatic change! Also check out that dining room light!
The "during" process. Wallpaper gone, beams being painted

The process was fairly straight forward. Our whole house (including the laundry and bathroom) was wallpapered in the same cream, slightly textured and shiny wallpaper. It makes me wonder if they got some kind of buy one get 20 rolls free kind of special deal!! It was also a very narrow width, maybe 40cm and with large rooms there were lots of joins. If you have wallpaper in good condition it is fine to paint over it but because of the joins, the texture of the paper and some of the areas around the windows were really bad, we decided the best option was to remove it. This was all my husbands hard work, along with all the painting. We also needed to replace a section of the gib board underneath the windows as water had leaked but this was only a minor fix. Anyway, after some prepping it was all good to go with painting, starting with the ceiling and beams. It was amazing to see the difference to the room even with just having the ceiling lighter. 

Let's just let the after pictures speak for themselves...... 


Most days we can look out the window to the Titahi Bay inlet and further beyond to the Tasman Sea. I fell in love with the sea views when we looked at the house!
The door to the kitchen has been taken off for painting, so you can see part of my emergency kit (!) and into  the kitchen. The entrance to the lounge is a wide double doorway. 
My babies look great in black and white on the dark walls! Our dining room table was completely refinished (for another blog post!)


Our Wellington painting looks fabulous contrasting on the dark walls. 
Original artwork by my father in law, Simon Turner

What do you think? It's almost my favourite coloured room in our house, although I do really like the colours we choose for our boys bedrooms. I really like the way the crisp white makes the colour pop. It's a hard colour to describe, a dark blue grey, but it changes depending on the light. We are lucky to have huge windows that let a lot of natural light in so the room doesn't feel closed in or dark. A light room with dark walls is an interesting mix! 

Wall colours Resene "Gumboot"
Trims painted Resene Lustacryl
Beams Resene ceiling white
Pendant light from Lighting Plus

Hope you enjoyed this sneak peak into my home, I hope to post a few more over the coming months :)


Wednesday, 25 May 2016

Finished Projects: Easy Striped Baby Blanket


I started knitting this blanket when I was pregnant. I more or less lost my creative mojo when I was pregnant, but I saw this pattern and it inspired me to make something for my new arrival. I had been wanting to use up some teal coloured cotton yarn I bought for something else, plus some other yarns in my stash. The teal green, navy and silver worked really well together, a very similar colour scheme I saw in Kmart, so I'm totally #ontrend! 


Oh Hello! Introducing my new arrival :) He makes a pretty good photography prop!
Luckily for me I managed to finish the blanket before my little guy arrived! I also managed to get some matching booties done.

Matching booties to warm little feet! 


You can find the free pattern for this blanket here. It's surprisingly easy- if you can knit and purl you can make this! The pattern is from the fabulous Debbie Bliss knitting book "60 Quick Baby Knits". This is a really great book, although I don't own it (wishlist) I have borrowed it from the library before. 


The fancy looking border is actually just a simple seed stitch design- alternating rows of knit/purl then purl/knit creating a textured look. 
If you're interested in finding other patterns I like, feel free to follow my Crochet, Knitting & Yarn Pinterest board! I've also saved a few tips and tricks there too. 

Nothing cosier than a mummy made blanket to snuggle under!
Yarns used for this project:

Teal Green: 4 Seasons "Flinders" 100% Cotton 8 Ply Colour 80337207 
Silver: Panda "Dianella" 100% Viscose derived from Bamboo  Colour Shooting Star
Navy: 4 Seasons "Superwash Merino" 100% Merino 4 Ply
All purchased from Spotlight Stores 

Happy making x


Saturday, 14 May 2016

Black Forest Chocolate Fudge


At Christmas last year, my clever sister made a few home made gifts, including the most delicious Chocolate Baileys Liqueur Fudge. It was so soft, smooth and creamy, I had to have the recipe. Being pregnant I didn't think it was such a great idea to include a liqueur in my version (even though it's a minuscule amount), and because I like to work with what I have, I also adapted the flavour with the chocolate too. I'm sure you could use a variety of different chocolate flavours, including plain dark, milk or white chocolate  Maybe not soft filled ones like peppermint or caramel, simply because I imagine you need enough chocolate to help set the fudge. You can also substitute the liqueur for anything too, if you want to make a non-alcoholic fudge then use a flavoured syrup like the type you put into coffee. I used milkshake syrup and it worked fine!

You can find the original recipe here, and if you're a fudge fan, you might like my recipe for White Chocolate Russian Fudge too! 


Black Forest Chocolate Fudge

Ingredients
Melted butter to grease
1 can sweetened condensed milk
100g butter, cubed
255g (1 ¼ cups) brown sugar, firmly packed
2 tablespoons glucose syrup
150g of Whittakers Berry & Biscuit Chocolate, finely chopped
30ml cream
30ml chocolate syrup OR
¼ cup of any liqueur or alcohol (vodka, kahlua, baileys, cointreau etc)

Method

1.  Grease your dish with butter or non-stick cooking spray
2. Melt the condensed milk, butter, brown sugar and glucose syrup in a heavy base saucepan over medium-low heat until smooth, around 3 minutes. 
3. Turn the the heat up and cook the fudge for 10-15 minutes, stirring constantly until it becomes thick and a darker caramel colour.
4. Remove from heat and stir in the cream & syrup, then add the chopped chocolate slowly until the mixture is relatively smooth. It's important not to add the chocolate in all at once as you will lose the silky smooth texture
5. Pour into prepared pan and allow to cool for an hour before covering and putting in the fridge to set. 
Cut into small pieces with a sharp knife. 
Store in the fridge especially during hot weather 

Try not to eat it all at once!

Happy Making!

Tuesday, 2 February 2016

Return to scheduled programming...

You will be forgiven for thinking that I may have dropped off the face off the earth! Since my last blog post (July 2015), I've actually been pretty busy making some other things and there's been a lot of other happenings in my life. 


Firstly, we bought our first home and moved in August. We needed to do some basic renovation work as soon as we moved in, and as a lot of my crafty projects were packed away, I didn't have a lot of time to get things out for creating. I also finished a lot of things mid-year and didn't have anything new I wanted to be working on either. 


I've also been pretty busy making something extra special-- a new human being! If you follow me on Instagram, this isn't "new" news, but in case you're the rare reader who just follows my blog, now you know! 


Being pregnant has more or less sucked all the creative mojo out of me! It's pretty hard work creating a baby so that's understandable! I've made a couple of pairs of booties for friends but that's about it. With the arrival of our baby now only weeks away, I have been making a few things which hopefully I can get finished and post about here. 

I did make a pair of booties for a special friend overseas, so I thought I would share them here. They also travelled with a teddy bear who is in very familiar Kiwi attire-- an All Blacks (our national world champion Rugby team). Not only is the teddy very cute, but he also plays the Haka! (google it), you can watch him here:


The accompanying boots fit the bear, but they are actually for the baby they were delivered to! A very simple design which I think I will have to make again. Anyway, now that I am a little more settled, I'm looking forward to a bit more creating and sharing here again. 


Tuesday, 14 July 2015

Finished Projects: Chunky Moss Stitch Cowl + Pattern


Right now we are just about in the middle of winter, experiencing some very, very cold weather. While most people are moaning about how cold it is, I actually like cooler weather. Mostly for one reason-- scarves! I just love wearing a scarf! Something about wrapping up and keeping warm really appeals to me. That and I felt like a scarf is the perfect fashion accessory which will brighten and add to any outfit. I have quite a significant collection of scarves, all different colours, lengths, textures and weights. I also love to knit scarves as they are SUPER easy and quick. 


My first knitting projects were scarves. I started with this one, then fell in love with this super chunky coral wool, so made this one too. The funny thing about the coral one is that I made it, felt is was too chunky, unravelled it, knit it again, steam blocked it and still find it too heavy! So I am actually currently in the process of unravelling it AGAIN, and I will knit it again using this pattern. There are so many things that are great about knitting a chunky scarf. You don't need much yarn, it knits up super quick, and it's super warm due to the extra bulk. I also like that the weave of the stitches really loosens up after blocking so it actually isn't so heavy. The nice open weave of the moss stitch really works for this type of yarn. 


The idea probably came from the "GAP-tastic" cowl which is a very popular pattern on Ravelry. The thing that puts me off making that cowl is casting on 131 stitches onto a circular needle. Yes, ONE HUNDRED AND THIRTY ONE! The reason for this is to make a nice round circle that doesn't need a seam sewn together at the end. It also makes a HUGE cowl which I can imagine would be very heavy to wear. My version still creates a snuggly and plush neck-warmer, just without the huge bulk (Trust me when I say this, I used 6 skeins of coral coloured bulky yarn to make my first bulky cowl and my neck was sore after wearing it for a short while!)


These are just about all the colours of chunky yarn I have found so far. I've found them all at our local The Warehouse, they have a good selection. You can also buy some colours online, the style is "Largo". There are a couple of other colours but I think these are the best ones. So far I've used the Coral colour in the top right; the light grey on the middle left is the one I've used for the cover photo and close up of this post; In the middle photo, the purple/indigo blue I've used the most so far, making three cowls, the teal/peacock blue is in the bottom right of the photo above; the Magenta is probably my favourite colour, I used this to make a different style cowl; and the darker grey in the bottom right is currently on my needles!

Pattern: Chunky Moss Stitch Cowl/Infinity Scarf

Materials:

Approximately 3x 50g balls of bulky/chunky yarn 
12mm knitting needles
Measuring tape
Tapestry needle for sewing in ends

Pattern:

Cast on 15 stitches using the long tail method (you can make your cowl wider by casting on more stitches, just make sure it's an odd number like 19 or 21).

Row 1: K1, P1 to the end of the row
Row 2-end: K1, P1 to end of the row

Continue in same pattern (K1, P1) until you have approximately 90cm of work, about 2 ½ balls of yarn. 
Cast off, sew ends of scarf together into a circle, making sure the work is not twisted

I like to finish by steam blocking the scarf. By this I mean "iron" the scarf using a tea towel or thin cloth between the iron and your work. Use the steam shot function on your iron to dampen the scarf and work your way around the whole scarf. This helps to soften the yarn and loosen the weave. If you want a chunkier/plusher scarf you won't need to do this. 

I highly recommend doing this project if you are a beginner, want a quick project or to teach kids to knit!

Please let me know if you make your own scarf, I'd love to see it!


Sunday, 28 June 2015

Finished Projects: Weekend in Stockholm Blanket


What seems like a lifetime ago, I started this blanket. While it has been finished for a few weeks, it always takes a long time to go from finished object to on the blog! In reality I started in mid-January this year, and finished at the beginning of June. It's definitely a project I've done while making other things, picked up and put down again. I have made a few pairs of booties and other bits and pieces in between! (Which you may have already seen if you're following me on Instagram or Facebook ;) )


I like the overall finished blanket but I do find myself questioning the colours. Some days I like the orange, some days I think it's too much. I wonder if I may have liked it better if I chose I light grey instead of the orange?? Well it's too late now and even if I don't like the colours as much as I thought I would, it's certainly a warm and snuggly blanket. My cat especially loved to sleep on it! 


So here are photos of the finished blanket. I have to preface these pictures by saying it is quite difficult to photograph a blanket, it always looks crooked and wrinkly. It is more or less a square shape. Also the colours are tricky to get right too. I took these pictures in some late afternoon Winter sunshine, so they are possibly not exactly true to life. One day I might master my DSLR and work it so it picks up what I see!


It's also interesting how different the colours look in daylight and sunshine. The sunlight makes the orange a lot more muted and more orange. Inside the orange takes on more red pigments. When I was arranging the squares to join them altogether, I found it tricky to arrange in such a way that there wasn't too much orange all bunched up together. A friend told me to take a photo in black and white and then see if it looks right. This was actually a really good tip as I could see areas that contrasted too much. The overall layout is completely random however!


I do really like the pattern of each of the individual granny block squares. It looks quite intricate yet simple at the same time. I'd be interested to see how it looks in other colours, but I'm not quite keen enough to do another one just yet!


If you would like to make this blanket, you can find the original FREE pattern here.

Happy Making!


Monday, 8 June 2015

Baby Bunny Boots


Hello! Just thought I would show some of my latest creations. At the moment I am actually trying really hard to finish the Weekend in Stockholm blanket, but before I picked that project up again I made a couple more pairs of my favourite baby booties. 


I hope you liked the baby bear boots as much as I do! I've decided that they are a really good baby shower gift. They're quick and easy to make and now I've found a couple ways to customise them, I see endless possibilities! This pair I gifted recently to a friend who is having a baby girl. I wanted to make them a little more girly but not over the top, so went for my old favourite colour (grey) and my second favourite- a peachy pink. They turned out super cute and I'm really pleased with them. If you want to see other colours check out this post. 


In other makings, I also made these really sweet baby bunny boots! 


I made them just for fun but now have a home for them. It always makes me so happy when I can give things away instead of them sitting in my cupboard getting covered in dust! (Well actually stored securely in my hot water cupboard if you really want to know, I would not let my beautiful creations get dusty ;0) hehe!) I'm also hoping they're not super girly, but with pink faces it's kind of unmistakeable who would wear them! 


I can just imagine tiny little feet all toasty warm in these boots. What winter warmers are you making at the moment??


Tuesday, 12 May 2015

Baby Bear Boots


So lately with the weather being a bit cooler and wetter I've felt like getting out my knitting needles. That and having a lot of friends having babies or due to have babies in the next few months. Is there anything cuter than a newborn all snuggled up in hand knits?? 


You may remember (if you've been reading my blog for a little while) that I made a LOT of stuff for the Thorndon Fair which was almost a complete disaster. Anyway, you live and learn...One of the things I really loved making which did get snaffled up by a dear friend was these ridiculously cute Baby Bear Boots. You might remember seeing these as I have previously posted about them. I had another pair half finished in my project bag, the intention was two have more than one pair to sell at the fair. A week or so ago after feeling a bit over my Weekend in Stockholm Blanket, I got the unfinished boots out and finished them off. I had forgotten how quick and easy these boots are to make up. I posted a pic on my Facebook page and within a couple of hours I had sold them, plus requests for 2 more! This kind of confirms the fact that they are totally a genius idea! 


I'm happy to share the idea for the bear face, but as I am not the designer of the pattern you will need to source your own copy here or here. I think the pattern is around $5USD, which is totally affordable and honestly the best pattern I have used. I'm sure if you google baby boots pattern you'd be able to find a free pattern, but this is the one I have used, so I know it works. The best guide for size is a measurement of the baby's foot, the pattern supplies Newborn, 3 month and 6 month size. I have quite tight tension but use a bigger size needle than suggested. 

Baby Bear Boots

You will need 3 colours of yarn (I generally use 8ply wool or acrylic)
- The main boot colour;
- The face and ears colour &;
- A small amount for eyes and mouth (note I would not recommend using beads for eyes due to choking hazard)

-4.5mm crochet hook
-4mm knitting needles 

Face
Following the original pattern, when you are up to the instep part which requires you to knit on the 10 centre stitches, join the face colour and knit the rows in this colour. Once you have done this, switch back to the main boot colour. Continue with the boot as per the pattern until the end, leave the final stitches on the needle until the ears and eyes and mouth are done. 

Ears
Once the boot is finished, and Using the same colour of yarn as the face colour, make a magic circle, chain 3 and make 8 double crochet into the circle. Tighten circle and slip stitch into the ch3 to make a circular ear shape. Leave a longish tail to attach to ears. Make 2 ears. To sew the ears onto the face and working on the right side, thread both tail ends from the ears to the wrong side. Secure the ears firmly by sewing through a couple of the loops at the bottom of the ear circle. Weave in yarn tails on the wrong side of your work. 

Eyes and Mouth
Using the third colour, sew eyes onto the face and a small 'X' shape for a mouth. Be careful not to leave big loops of yarn at the back which little toes could get caught on!

Now you are ready to finish of your boot. There are several ways to cast off the stitches, but I like to use a three needle cast off as its very neat, or a weaving style. There is a very good tutorial on casting off here, along with the one linked above. 


I would so love to see if anyone makes these, so please tag me on Facebook or Instagram (@itsmariemade) or post a link to your blog in the comments! 

Happy Making :D


Wednesday, 15 April 2015

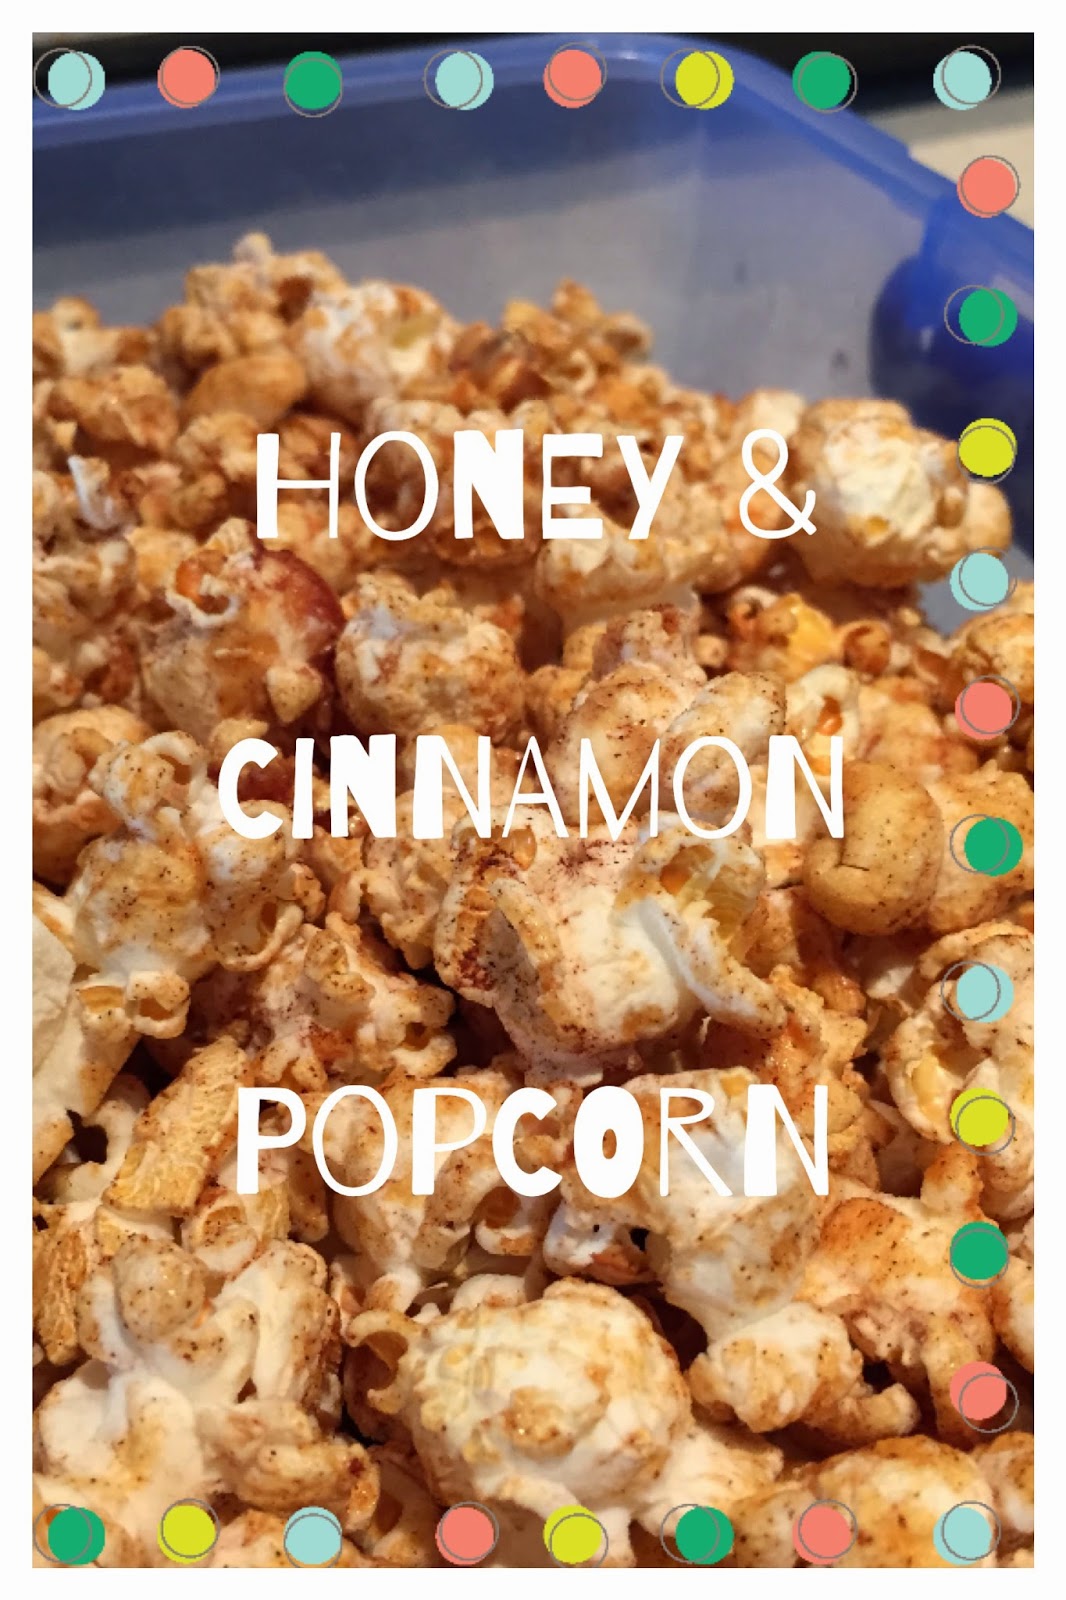
Honey & Cinnamon Popcorn


Last night I saw this recipe on Instagram, and I couldn't stop thinking about it! I always really struggle to find snack recipes that I think I will like, and also that I can be bothered making! Too much effort = not worth it for me! Last Christmas I gifted myself a popcorn maker and it's always a good option, except the usual flavour is melted butter....not exactly a healthy option. This recipe shared by Sugar Free Kiwi is perfect for me. I'm not a huge fan of replacing everything with coconut oil, but again, I just like the sound of this and thought it's a good option for kindy lunchbox too! My son loved it so it's a winner in our house!

Sugar Free Kiwi is a really great page to follow on Instagram as she posts a lot of yummy recipes which are easy to do. To be fair, this is the first one I've actually made, but I like to follow along for inspiration. I've also been eyeing up a recipe for Raw Peppermint Slice too!

Here's the recipe, full credit to Sugar Free Kiwi- make sure you check out her page!

Honey & Cinnamon Popcorn

Ingredients:

5 Tablespoons Popcorn Kernels, air popped
3 Tablespoons Coconut Oil
2 Tablespoons Honey 
1 Teaspoon ground Cinnamon

Method:

Melt the Coconut Oil, Honey and Cinnamon on a low heat in a pot large enough for all the popcorn. 
Once the oil and honey mixture is melted and combined, add the popcorn and stir gently until all the popcorn is coated and barely any left at the bottom of the pot.
Spread onto a baking tray and bake at 150°C for 15 minutes or until brown/golden. 

Allow to cool completely before storing, and tastes better/crisper once cooled too!

Enjoy x


Wednesday, 18 March 2015

Monogram Zipped Purse

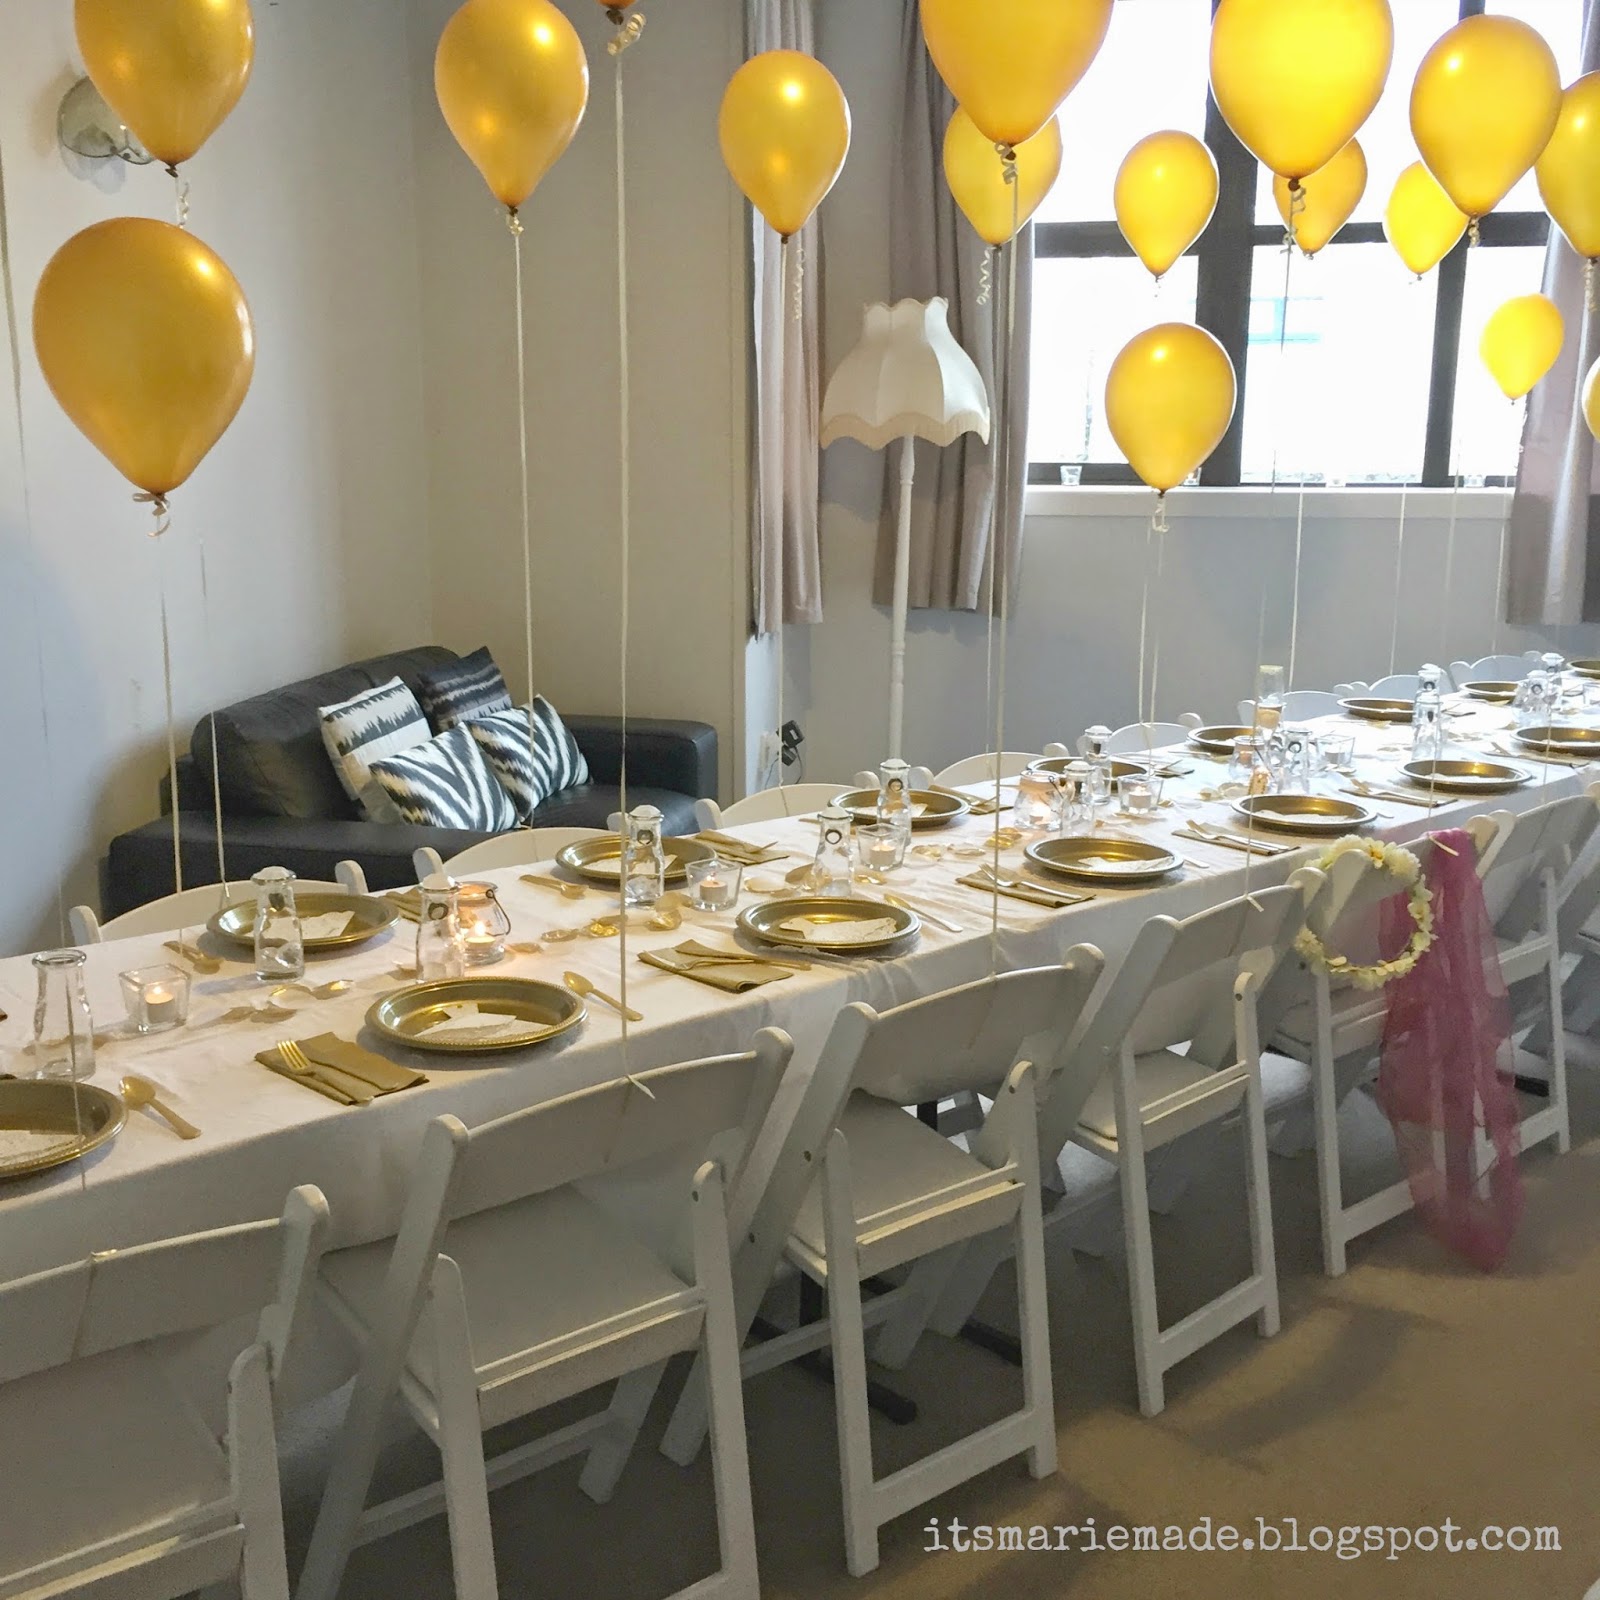
A few weeks ago I went to a Hen Party/Bridal Shower/Bachelorette Party (pick whichever term you are comfortable with) for a very lovely friend. The theme for the party was White & Gold, and when I say theme, I mean the ENTIRE party (including all food and drinks) was part of this theme. Eating gold coloured chicken was definitely an experience!


As part of the party, we each had to bring the Bride-to-Be a jewellery gift. While I was thinking about how to wrap it, I was browsing in Pete's Emporium and found an amazing Metallic Bronze coloured vinyl. I have been making A LOT of purses and zipped pouches lately, so I thought I could make a cute purse to put the necklace in. The "wrong" side of the vinyl was super soft and almost furry, so perfect to protect jewellery or other precious treasures. 


When it comes to sewing lately, I am definitely make it up as you go type of person....I read a couple of blog tutorials about making zipped purses but to be honest I find it much easier to visualise something in my head and work it out once I actually start. The biggest challenge I thought would actually be sewing through the layers of vinyl. While it was pretty thin, I do have some concerns about the capability of my retro machine! 


Once I had made the pouch, I wanted to decorate it in some way, and thinking about the Gold & White theme, I decided to sew on some gold sequins. I practised writing out the letter "L" (my friends initial) a few times on a scrap piece and even did a proper mock up sewing on the sequins. I'm glad I did this because it meant I didn't ruin the finished purse with a letter that was too small, and I could see that it would actually look amazing once done! I wrote the L with a sharpie onto the front of the purse and then used it as my pattern to sew the sequins. A smarter person may have done this before sewing the purse together, but I only had this brainwave at the end! 


The end result was so beautiful I instantly wanted to make another! Luckily it was my sister-in-law's birthday, so I sewed one up for her too! It always amazes me how much I love to make things to give away! Anything I make for myself usually ends up half finished or takes me three times as long! Anyone else find that too?


I forgot to take many photos of the finished purse! I really just finished it in the nick of time to be given as my gift. I also only took one or two photos of the second purse! 


I'm so happy how these turned out! 

These are a few of the other things I have been sewing lately:


I must admit I have been neglecting my poor blog a little bit of late. I'm really busy at the moment with work and other commitments so have barely any time to sit down at the computer! I still manage to post a bit on Instagram, so if you'd like to keep up with what I'm doing, you can find me here, @itsmariemade