Showing posts with label sewing. Show all posts

Wednesday, 18 March 2015

Monogram Zipped Purse

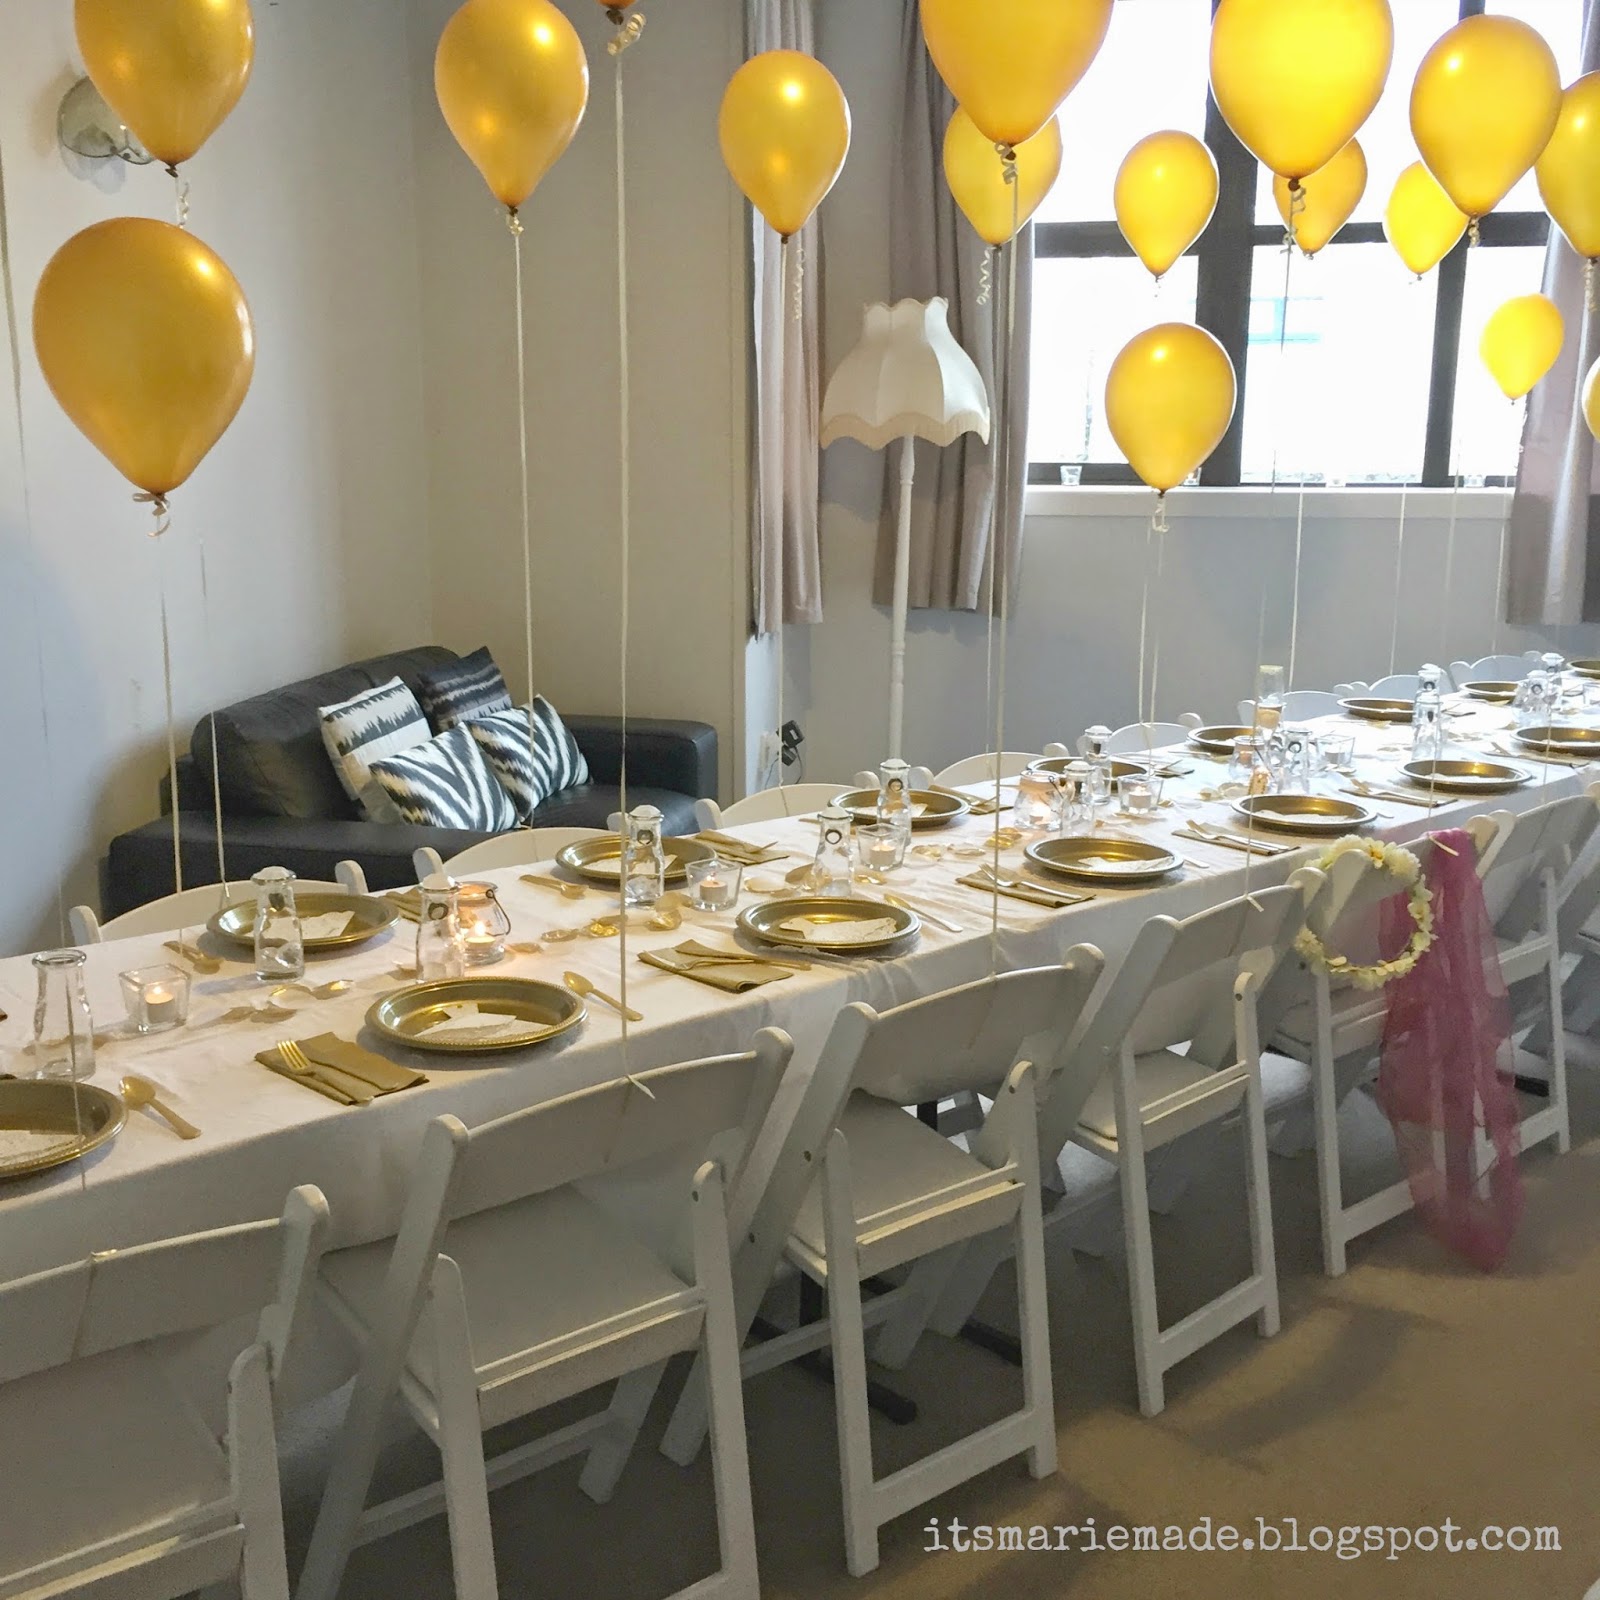
A few weeks ago I went to a Hen Party/Bridal Shower/Bachelorette Party (pick whichever term you are comfortable with) for a very lovely friend. The theme for the party was White & Gold, and when I say theme, I mean the ENTIRE party (including all food and drinks) was part of this theme. Eating gold coloured chicken was definitely an experience!


As part of the party, we each had to bring the Bride-to-Be a jewellery gift. While I was thinking about how to wrap it, I was browsing in Pete's Emporium and found an amazing Metallic Bronze coloured vinyl. I have been making A LOT of purses and zipped pouches lately, so I thought I could make a cute purse to put the necklace in. The "wrong" side of the vinyl was super soft and almost furry, so perfect to protect jewellery or other precious treasures. 


When it comes to sewing lately, I am definitely make it up as you go type of person....I read a couple of blog tutorials about making zipped purses but to be honest I find it much easier to visualise something in my head and work it out once I actually start. The biggest challenge I thought would actually be sewing through the layers of vinyl. While it was pretty thin, I do have some concerns about the capability of my retro machine! 


Once I had made the pouch, I wanted to decorate it in some way, and thinking about the Gold & White theme, I decided to sew on some gold sequins. I practised writing out the letter "L" (my friends initial) a few times on a scrap piece and even did a proper mock up sewing on the sequins. I'm glad I did this because it meant I didn't ruin the finished purse with a letter that was too small, and I could see that it would actually look amazing once done! I wrote the L with a sharpie onto the front of the purse and then used it as my pattern to sew the sequins. A smarter person may have done this before sewing the purse together, but I only had this brainwave at the end! 


The end result was so beautiful I instantly wanted to make another! Luckily it was my sister-in-law's birthday, so I sewed one up for her too! It always amazes me how much I love to make things to give away! Anything I make for myself usually ends up half finished or takes me three times as long! Anyone else find that too?


I forgot to take many photos of the finished purse! I really just finished it in the nick of time to be given as my gift. I also only took one or two photos of the second purse! 


I'm so happy how these turned out! 

These are a few of the other things I have been sewing lately:


I must admit I have been neglecting my poor blog a little bit of late. I'm really busy at the moment with work and other commitments so have barely any time to sit down at the computer! I still manage to post a bit on Instagram, so if you'd like to keep up with what I'm doing, you can find me here, @itsmariemade

Friday, 6 February 2015

Show and Tell: Stripey Name Bunting

Show and Tell: Stripey Name Bunting


For ages now, like years even, I've been wanting to make my own fabric bunting. Ridiculous I know, considering what a beginner project this is! Now that I have a sewing machine, all my bunting dreams have come true! :D


I was able to sew this up in a matter of hours- from cutting to hanging. That is quite an achievement I have to say! 


I used a pattern for the size I wanted, you can find it here. The fabrics are from the remnants bin at Spotlight. I won't go into massive details about how I made my bunting, as I think most sewers have an idea and it's not that hard. So just quickly, my flags are double sided with a smaller piece of interfacing between; I used a zigzag stitch for everything including attaching the binding; and I used a glue gun to attach the wooden letters to the flags.


Something quick and fun to brighten up my little boy's bedroom and go with his new big boy bed. Sometimes the quickest, easiest crafts turn out to be the best!


Originally I was trying to find some black and white checkered fabric so I could go with more of the racing-car theme, but in the end, I think the blue and red colours look great. It's not over the top, blends in well with the rest of the decor, but is fun and bright at the same time.


Happy Making! 

Tuesday, 21 October 2014

Hello Sewing!


Things are super-exciting around my house right now. This is because I have inherited my Mum's sewing machine! It's a bit of an old beast, but being a Bernina, it is still in great condition and as far as my novice sewing knowledge can tell, sews pretty well too. The model is a Bernina "Minimatic". My mum bought it in the 1970s, and as far as I know, it was quite expensive at the time. I have lots of memories of mum sewing for us as kids. When my sister and I were little, she almost exclusively sewed all of our clothes. She also sewed a lot of her own clothes too. I don't really know anyone these days that would sew the majority of their family's clothing. Probably the main reason is because it's so cheap to buy mass produced clothing now that it's not really economically viable for people to buy patterns, fabric and then spend the time sewing along with running a household, and for a lot of (mainly) women, also hold down a full time job. I also remember mum sewing a lot of our dolls clothes, including teeny tiny Barbie Doll stuff. I don't think I have the patience for those kinds of fiddly jobs! 


The machine has arrived with a lot of accessories! Firstly, the snazzy red hard case, which packs everything inside neatly. It has an extension arm which can be stored in the case. Also a clip on little box to store your scissors, pins and extra bits and pieces you might need while sewing. The major part is something I didn't discover until I was putting the machine away, a treasure trove of extra needles, sewing  machine feet and bobbins! I had gone to Spotlight to purchase new needles, thread and tools to remove the needle. I used all these, and then when I packed the machine up, I discovered a box hidden at the back of the case. I hadn't noticed it before as it was stowed away at the back!


Check out that sneaky stowaway!


Inside the box was everything I had bought! HEAPS of spare needles including denim and twin needles. EIGHT different feet- not including the one already on the machine! Eight bobbins. And all the little tools that are needed for adjustments. I am definitely completely set up for some major sewing now! 


There is definitely something special about this machine. I could buy a new one, a fancier one, an electronic on/off button one, but this machine is just what I want. Maybe it's all the memories of my mum sitting at her sewing desk making things for my sister and I. Or the familiar smell of the bobbin box and sound of the machine whirring away. I think maybe it's that if I own this machine, I own a little bit of my mum too. And that is a very bittersweet feeling as really I'd rather have a new machine and be asking my mum for advice, than have her old machine and not have her. So even if I don't get much use of it, even if it sits in it's case for the next wee while, every time I look at it I will remember my mum. And those are definitely happy thoughts. 

Anyway, my main reason for wanting a sewing machine is actually fairly simple. I want to be able to easily mend or alter clothing for our family, as well as make some simple things for fun. I had a couple of ideas in mind for a few pieces of clothing that I like, but would love if I could alter them slightly. The last time I took something to an alteration service, they charged me $20 for a very simple fix-- something I knew I could do myself if I had my own machine.


The first item for "fixing" was this Staxs tunic I purchased last year. I absolutely love the fabric, but I hated the sleeves! I also find with Staxs clothing, the sizes run quite big, so this tunic was quite baggy on me, making me look bigger than I actually am. All I wanted to do was remove the frilly, flappy sleeves, and make them plain. I just unpicked the frilly hem of the sleeve, took it off, folded a new seam and sewed around. SUPER SIMPLE! And it worked perfectly, the tunic looks 100% better and fits me better without those sleeves. I wish I had taken a "before" picture!


Frilly sleeves be gone!
I'm not a really fancy sewer, I can only do really basic things. If you look really closely, you will see that the seam isn't quite perfect and the thread doesn't match exactly. But as a first go after not sewing anything in at least 15 years, I think it's a good effort!


I got pretty excited about how many things I could alter after such great success with this tunic, that I pulled everything out of my wardrobe that I wanted to change! Another top that I quite like, again has these ridiculous puff sleeves. This has turned out to be a bit trickier due to the amount of volume in the sleeves, a work in progress! 

I am very pleased to be able to write about my sewing adventures now here on the blog! Watch this space!
For now my family heirloom has gone back into her home while I continue creating for the Thorndon Fair. See you again soon!


Skip To My Lou

Thursday, 21 August 2014

Work in Progress: Felt Christmas Stocking Part 1

If you've been following me on Instagram, you may have seen that I've started to make my son's Christmas stocking. I started now, because I don't know how long it's going to take me, and I want to be finished before Christmas! 

I bought the kit last Christmas in the after-Christmas sales. I got it out of the packet and looked and all the pieces and then stuck it straight back in! You may have seen last Christmas that I have the same type of stocking myself. The stocking I'm making for Lucas is the exact same brand! My very crafty Mum made one for my sister and I. They have to be at LEAST 20+ years old as I remember having them when we lived in Auckland. This is one instance where I really wish Mum was still here as I could definitely use some advice on hand stitching and embroidery. This is part of the reason why it's taken me 7 or 8 months to start the stocking as I'm a bit afraid! Hand sewing is absolutely not my forte! 

I'm currently up to Step 4...of *gulp* 57. I'm taking it as slowly and carefully as I can to get everything right. The hardest part by far, and I think of the entire project was the personalising of the name. The pattern was for a red coloured thread but I thought I would make it special and go for gold....wow that metallic thread is a pain to sew with! What I finished up with is by no means perfect, but all the same I'm proud of what I'm doing. I'll keep you posted as go.