

This tutorial will show you how to make another pair of beaded earrings using slightly different materials. Hopefully you had a look at this post on basic technique and materials. If you haven't, click here to review.
For these earrings I recycled some beads from a green necklace. I didn't like the necklace, it was too short and not really my colour, but the green glass beads individually are really beautiful!

Below is a pic of the materials that I am using- minus the pliers. You only really need the flat pliers for these earrings. You also need something sharp to cut.

The loop of wiry material is called "tiger tail". Tiger tail is a thin, nylon covered wire that is flexible and will hold it's shape. It's brilliant for making earrings and shorter style necklaces. You can find it at most craft stores or where ever you get your supplies from.
We are also using "crimpers". These are the tiny gold "beads" in the little bag above. They're not actually beads but very small metal tubes. You need to use these to help space your beads, and also at the end of the tiger tail to keep it in place. Here is a close up look below:

For these earring we work from the top down, i.e. creating the loop for the earring hook to attach to. The first thing you need to do it cut a length of your tiger tail. You need to have enough so that when it is folded in half, it is slightly longer than the length you want your finished earrings to be. (Remember it's easy to shorten them, but you can't add more length!)
Once you have cut your piece of tiger tail using pliers or really sharp scissors, fold it in half and thread crimper through both strands. Once you have created a small loop at the very top, flatten the crimper using pliers.

Above: Threading the crimper onto both strands
Below: Creating a loop with the crimper

Next you want to thread your bead onto the loose ends. Once you have it at the height/length you want it to bead, add another crimper and flatten to secure the bead in place. See below pic:

It doesn't matter if you have loose ends under your bead, these will be trimmed off. Or if you wear adding another bead underneath, you will thread the next bead on and add another crimper.
The next step is to create another bead strand for another bead. You repeat exactly the same process to create another strand. (I find it a good idea to hold the second strand next to the first one to check how it will look handing next to it and whether I need to adjust the length). Once you think you have it right, add your crimper.
Now that you have 2 strands, you are ready to hang them on the earring hook. The easiest way to do this is to open the circle at the bottom of the earring hook and thread on your two bead strands.

The above pic is a little blurry but hopefully you get the idea. The you will be left with something that looks like this:
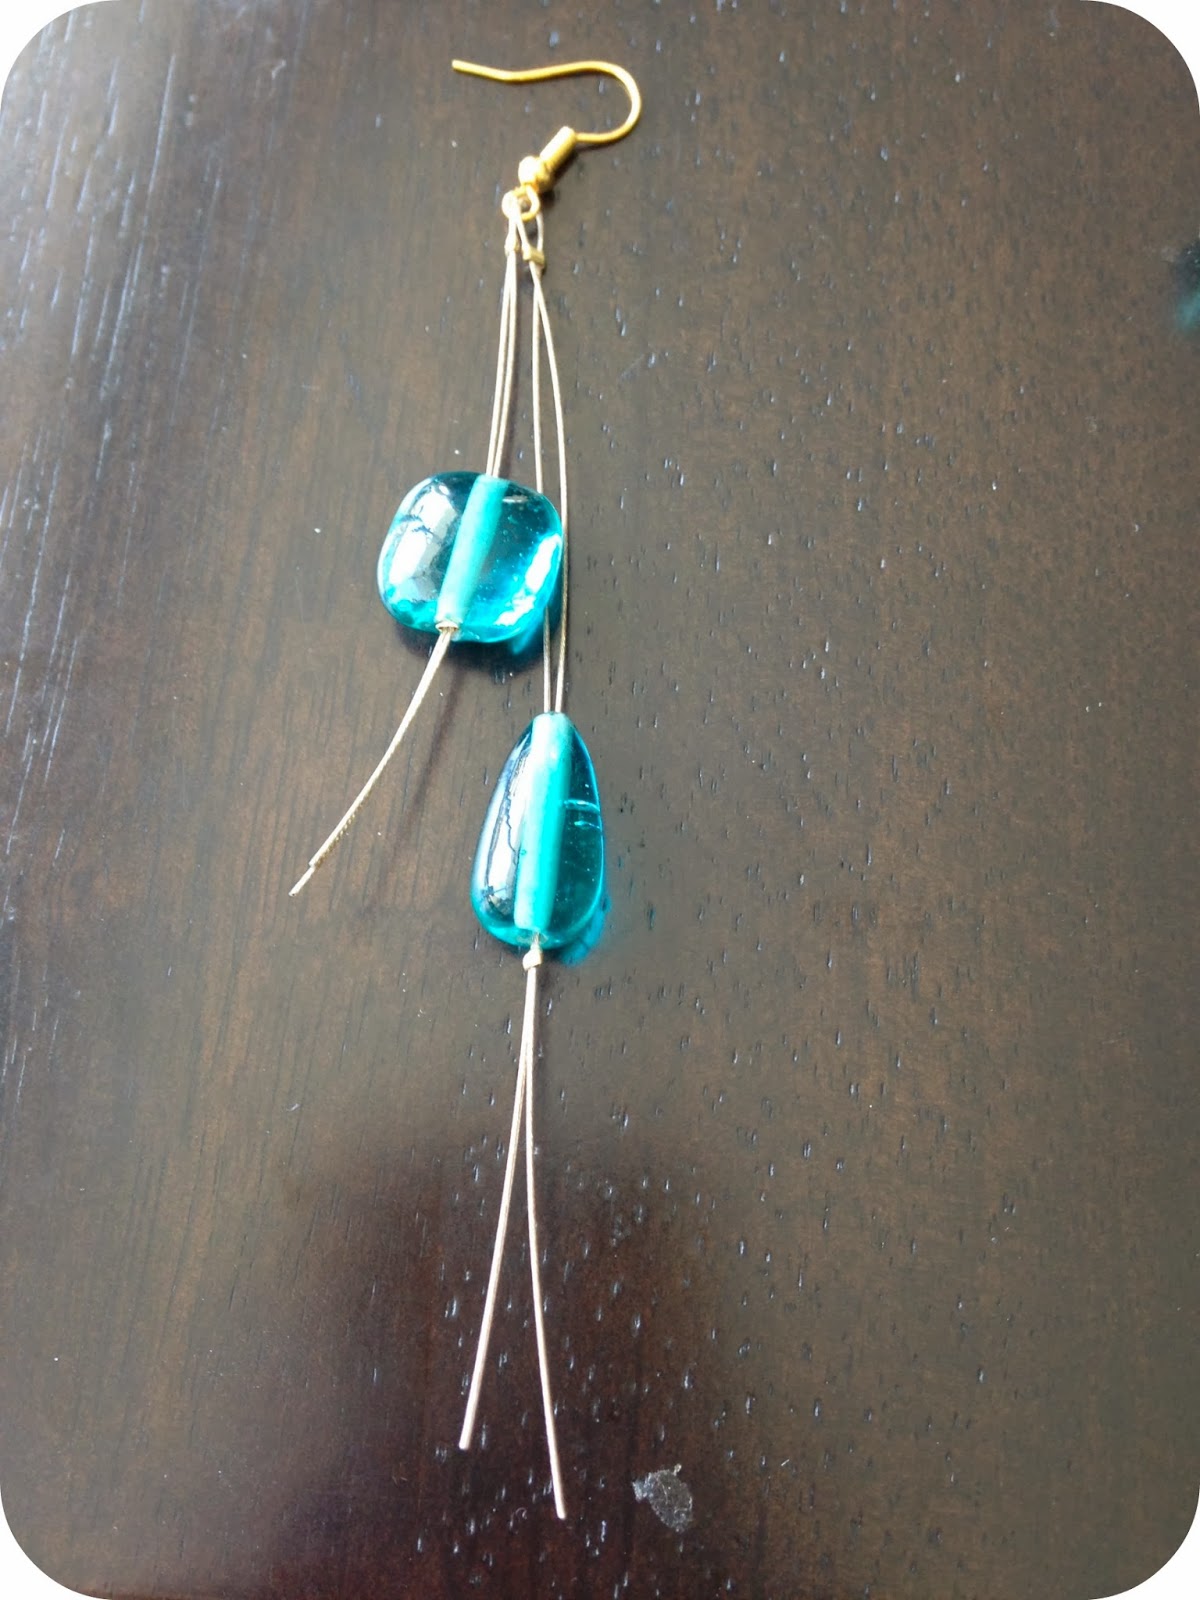
All you need to do is trim the loose ends with a sharp pair of scissors or pliers, and Ta-Da! Another pair of beautiful, hand-crafted earrings! (Tip: Make sure you trim the end cleanly otherwise the exposed areas may scratch your delicate neck when worn!)

Isn't there something so nice about making something original and by hand! Once you've mastered the tiger tail, you can make a lot of jewellery. Tiger tail is great for necklaces that have individual statement beads.
I hope you've enjoyed these tutorials on how to make your own jewellery. I'd love to know what you think, so please leave your comments below!
Here's some more jewellery inspiration by way of an old broken bracelet and bag charm

I turned into a pendant necklace:

This was really easy with some waxed thread and knotting the beads in place, just like the T-Shirt Yarn necklace I made recently.
No comments:
Post a Comment