Sunday, 28 June 2015

Finished Projects: Weekend in Stockholm Blanket


What seems like a lifetime ago, I started this blanket. While it has been finished for a few weeks, it always takes a long time to go from finished object to on the blog! In reality I started in mid-January this year, and finished at the beginning of June. It's definitely a project I've done while making other things, picked up and put down again. I have made a few pairs of booties and other bits and pieces in between! (Which you may have already seen if you're following me on Instagram or Facebook ;) )


I like the overall finished blanket but I do find myself questioning the colours. Some days I like the orange, some days I think it's too much. I wonder if I may have liked it better if I chose I light grey instead of the orange?? Well it's too late now and even if I don't like the colours as much as I thought I would, it's certainly a warm and snuggly blanket. My cat especially loved to sleep on it! 


So here are photos of the finished blanket. I have to preface these pictures by saying it is quite difficult to photograph a blanket, it always looks crooked and wrinkly. It is more or less a square shape. Also the colours are tricky to get right too. I took these pictures in some late afternoon Winter sunshine, so they are possibly not exactly true to life. One day I might master my DSLR and work it so it picks up what I see!


It's also interesting how different the colours look in daylight and sunshine. The sunlight makes the orange a lot more muted and more orange. Inside the orange takes on more red pigments. When I was arranging the squares to join them altogether, I found it tricky to arrange in such a way that there wasn't too much orange all bunched up together. A friend told me to take a photo in black and white and then see if it looks right. This was actually a really good tip as I could see areas that contrasted too much. The overall layout is completely random however!


I do really like the pattern of each of the individual granny block squares. It looks quite intricate yet simple at the same time. I'd be interested to see how it looks in other colours, but I'm not quite keen enough to do another one just yet!


If you would like to make this blanket, you can find the original FREE pattern here.

Happy Making!


Monday, 8 June 2015

Baby Bunny Boots


Hello! Just thought I would show some of my latest creations. At the moment I am actually trying really hard to finish the Weekend in Stockholm blanket, but before I picked that project up again I made a couple more pairs of my favourite baby booties. 


I hope you liked the baby bear boots as much as I do! I've decided that they are a really good baby shower gift. They're quick and easy to make and now I've found a couple ways to customise them, I see endless possibilities! This pair I gifted recently to a friend who is having a baby girl. I wanted to make them a little more girly but not over the top, so went for my old favourite colour (grey) and my second favourite- a peachy pink. They turned out super cute and I'm really pleased with them. If you want to see other colours check out this post. 


In other makings, I also made these really sweet baby bunny boots! 


I made them just for fun but now have a home for them. It always makes me so happy when I can give things away instead of them sitting in my cupboard getting covered in dust! (Well actually stored securely in my hot water cupboard if you really want to know, I would not let my beautiful creations get dusty ;0) hehe!) I'm also hoping they're not super girly, but with pink faces it's kind of unmistakeable who would wear them! 


I can just imagine tiny little feet all toasty warm in these boots. What winter warmers are you making at the moment??


Tuesday, 12 May 2015

Baby Bear Boots


So lately with the weather being a bit cooler and wetter I've felt like getting out my knitting needles. That and having a lot of friends having babies or due to have babies in the next few months. Is there anything cuter than a newborn all snuggled up in hand knits?? 


You may remember (if you've been reading my blog for a little while) that I made a LOT of stuff for the Thorndon Fair which was almost a complete disaster. Anyway, you live and learn...One of the things I really loved making which did get snaffled up by a dear friend was these ridiculously cute Baby Bear Boots. You might remember seeing these as I have previously posted about them. I had another pair half finished in my project bag, the intention was two have more than one pair to sell at the fair. A week or so ago after feeling a bit over my Weekend in Stockholm Blanket, I got the unfinished boots out and finished them off. I had forgotten how quick and easy these boots are to make up. I posted a pic on my Facebook page and within a couple of hours I had sold them, plus requests for 2 more! This kind of confirms the fact that they are totally a genius idea! 


I'm happy to share the idea for the bear face, but as I am not the designer of the pattern you will need to source your own copy here or here. I think the pattern is around $5USD, which is totally affordable and honestly the best pattern I have used. I'm sure if you google baby boots pattern you'd be able to find a free pattern, but this is the one I have used, so I know it works. The best guide for size is a measurement of the baby's foot, the pattern supplies Newborn, 3 month and 6 month size. I have quite tight tension but use a bigger size needle than suggested. 

Baby Bear Boots

You will need 3 colours of yarn (I generally use 8ply wool or acrylic)
- The main boot colour;
- The face and ears colour &;
- A small amount for eyes and mouth (note I would not recommend using beads for eyes due to choking hazard)

-4.5mm crochet hook
-4mm knitting needles 

Face
Following the original pattern, when you are up to the instep part which requires you to knit on the 10 centre stitches, join the face colour and knit the rows in this colour. Once you have done this, switch back to the main boot colour. Continue with the boot as per the pattern until the end, leave the final stitches on the needle until the ears and eyes and mouth are done. 

Ears
Once the boot is finished, and Using the same colour of yarn as the face colour, make a magic circle, chain 3 and make 8 double crochet into the circle. Tighten circle and slip stitch into the ch3 to make a circular ear shape. Leave a longish tail to attach to ears. Make 2 ears. To sew the ears onto the face and working on the right side, thread both tail ends from the ears to the wrong side. Secure the ears firmly by sewing through a couple of the loops at the bottom of the ear circle. Weave in yarn tails on the wrong side of your work. 

Eyes and Mouth
Using the third colour, sew eyes onto the face and a small 'X' shape for a mouth. Be careful not to leave big loops of yarn at the back which little toes could get caught on!

Now you are ready to finish of your boot. There are several ways to cast off the stitches, but I like to use a three needle cast off as its very neat, or a weaving style. There is a very good tutorial on casting off here, along with the one linked above. 


I would so love to see if anyone makes these, so please tag me on Facebook or Instagram (@itsmariemade) or post a link to your blog in the comments! 

Happy Making :D


Wednesday, 15 April 2015

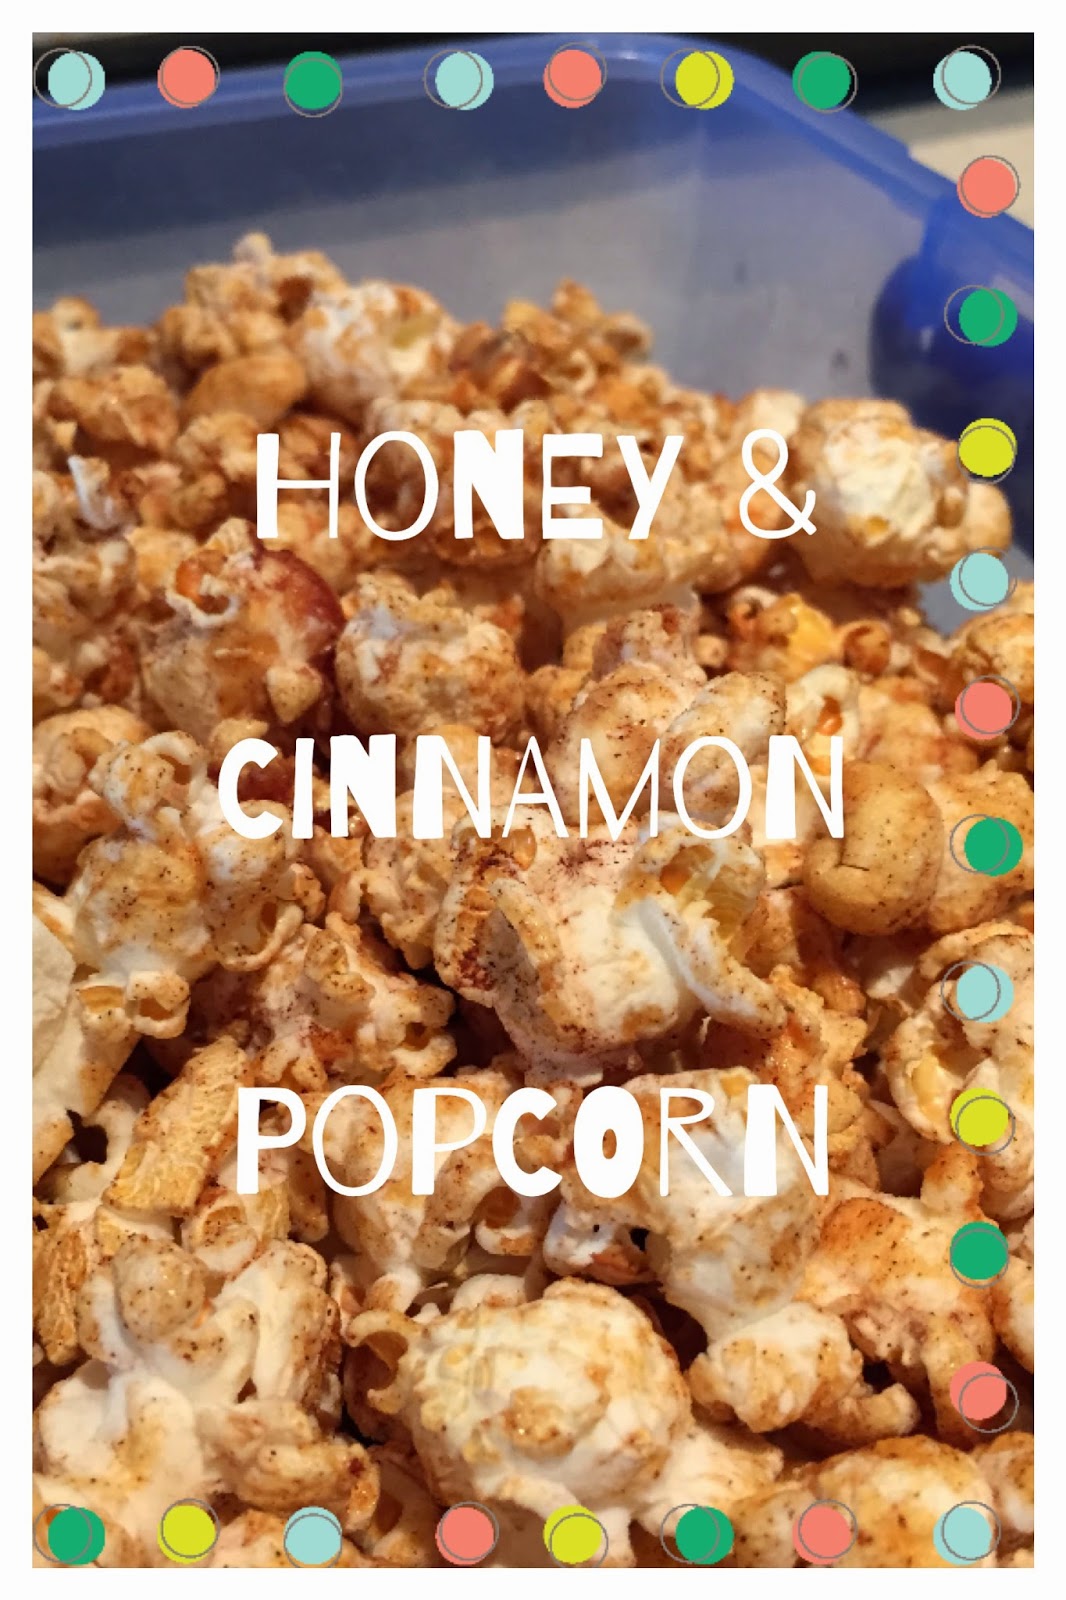
Honey & Cinnamon Popcorn


Last night I saw this recipe on Instagram, and I couldn't stop thinking about it! I always really struggle to find snack recipes that I think I will like, and also that I can be bothered making! Too much effort = not worth it for me! Last Christmas I gifted myself a popcorn maker and it's always a good option, except the usual flavour is melted butter....not exactly a healthy option. This recipe shared by Sugar Free Kiwi is perfect for me. I'm not a huge fan of replacing everything with coconut oil, but again, I just like the sound of this and thought it's a good option for kindy lunchbox too! My son loved it so it's a winner in our house!

Sugar Free Kiwi is a really great page to follow on Instagram as she posts a lot of yummy recipes which are easy to do. To be fair, this is the first one I've actually made, but I like to follow along for inspiration. I've also been eyeing up a recipe for Raw Peppermint Slice too!

Here's the recipe, full credit to Sugar Free Kiwi- make sure you check out her page!

Honey & Cinnamon Popcorn

Ingredients:

5 Tablespoons Popcorn Kernels, air popped
3 Tablespoons Coconut Oil
2 Tablespoons Honey 
1 Teaspoon ground Cinnamon

Method:

Melt the Coconut Oil, Honey and Cinnamon on a low heat in a pot large enough for all the popcorn. 
Once the oil and honey mixture is melted and combined, add the popcorn and stir gently until all the popcorn is coated and barely any left at the bottom of the pot.
Spread onto a baking tray and bake at 150°C for 15 minutes or until brown/golden. 

Allow to cool completely before storing, and tastes better/crisper once cooled too!

Enjoy x


Wednesday, 18 March 2015

Monogram Zipped Purse

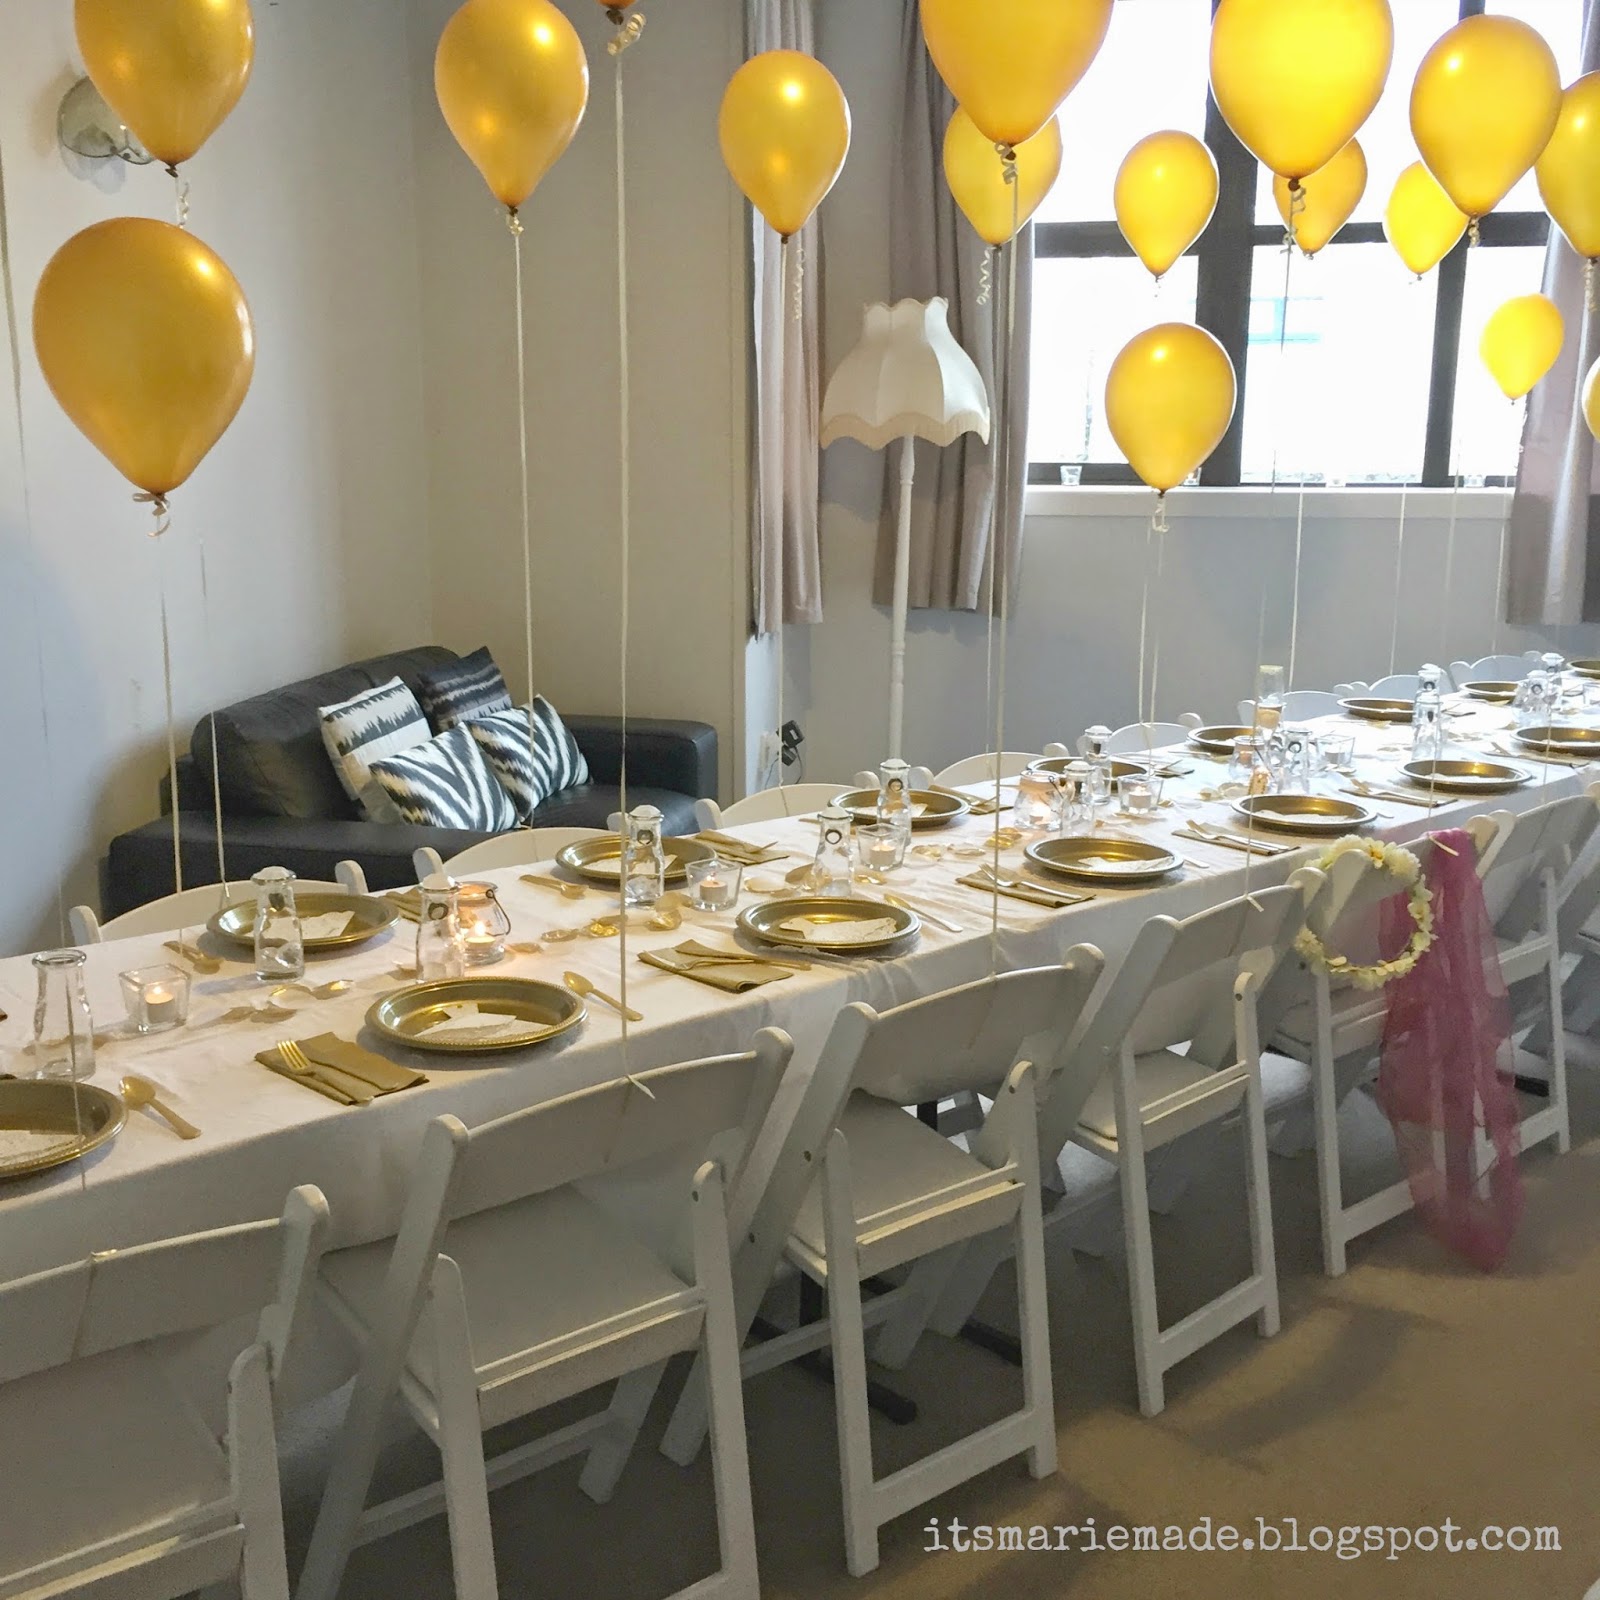
A few weeks ago I went to a Hen Party/Bridal Shower/Bachelorette Party (pick whichever term you are comfortable with) for a very lovely friend. The theme for the party was White & Gold, and when I say theme, I mean the ENTIRE party (including all food and drinks) was part of this theme. Eating gold coloured chicken was definitely an experience!


As part of the party, we each had to bring the Bride-to-Be a jewellery gift. While I was thinking about how to wrap it, I was browsing in Pete's Emporium and found an amazing Metallic Bronze coloured vinyl. I have been making A LOT of purses and zipped pouches lately, so I thought I could make a cute purse to put the necklace in. The "wrong" side of the vinyl was super soft and almost furry, so perfect to protect jewellery or other precious treasures. 


When it comes to sewing lately, I am definitely make it up as you go type of person....I read a couple of blog tutorials about making zipped purses but to be honest I find it much easier to visualise something in my head and work it out once I actually start. The biggest challenge I thought would actually be sewing through the layers of vinyl. While it was pretty thin, I do have some concerns about the capability of my retro machine! 


Once I had made the pouch, I wanted to decorate it in some way, and thinking about the Gold & White theme, I decided to sew on some gold sequins. I practised writing out the letter "L" (my friends initial) a few times on a scrap piece and even did a proper mock up sewing on the sequins. I'm glad I did this because it meant I didn't ruin the finished purse with a letter that was too small, and I could see that it would actually look amazing once done! I wrote the L with a sharpie onto the front of the purse and then used it as my pattern to sew the sequins. A smarter person may have done this before sewing the purse together, but I only had this brainwave at the end! 


The end result was so beautiful I instantly wanted to make another! Luckily it was my sister-in-law's birthday, so I sewed one up for her too! It always amazes me how much I love to make things to give away! Anything I make for myself usually ends up half finished or takes me three times as long! Anyone else find that too?


I forgot to take many photos of the finished purse! I really just finished it in the nick of time to be given as my gift. I also only took one or two photos of the second purse! 


I'm so happy how these turned out! 

These are a few of the other things I have been sewing lately:


I must admit I have been neglecting my poor blog a little bit of late. I'm really busy at the moment with work and other commitments so have barely any time to sit down at the computer! I still manage to post a bit on Instagram, so if you'd like to keep up with what I'm doing, you can find me here, @itsmariemade